
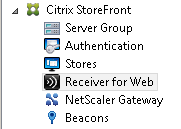
 In the middle pane, make sure the appropriate Store is selected.
 In the right pane, Under Actions > Store Web Receiver: Click Deploy Citrix Receiver
 To enable Receiver for HTML5, there are 3 options:
o Install locally
o Use Receiver for HTML5 if local install fails
o Always use Receiver for HTML5 Select Use Receiver for HTML5 if local install fails
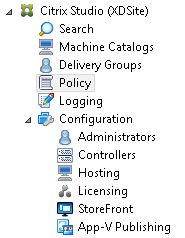
 Step2: Enable ICA WebSockets connections policy in Citrix Studio (i.e. on your XenDesktop and XenApp servers)
Once the configuration on the Citrix Studio end is complete, follow the below steps to enable WebSockets policies using the Citrix Studio management console. Reference edocs
Modify an existing (default) policy
Under Citrix Studio, go to Policy
Step2: Enable ICA WebSockets connections policy in Citrix Studio (i.e. on your XenDesktop and XenApp servers)
Once the configuration on the Citrix Studio end is complete, follow the below steps to enable WebSockets policies using the Citrix Studio management console. Reference edocs
Modify an existing (default) policy
Under Citrix Studio, go to Policy
 In the middle pane, under Policies, either modify an existing policy or create a new policy.
 In the right pane, under Actions > Edit Policy..
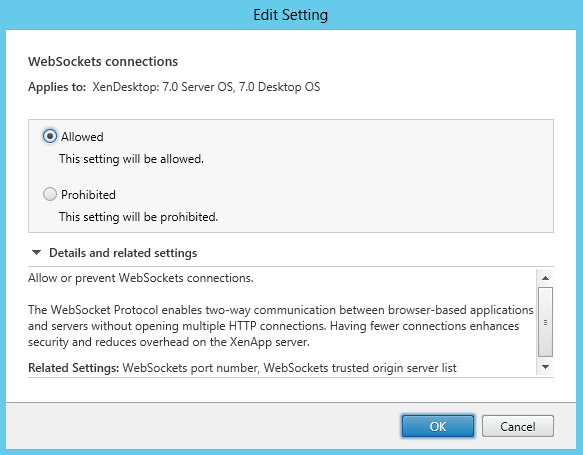
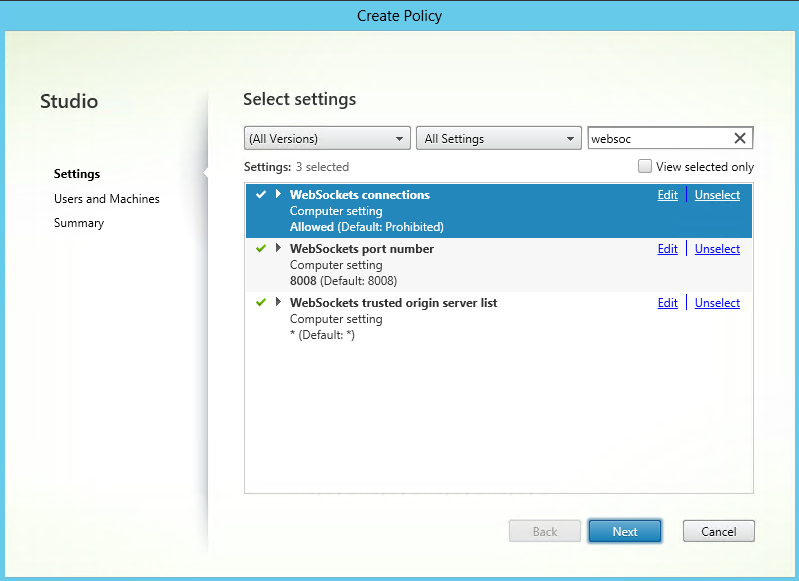
 Edit Unfiltered window opens, type websoc and hit enter. It will filter you all the three WebSockets related policy settings. Click Select for all of them.
 Select Allowed and click OK
 Leave default click OK
 Leave default click OK
 Click Next
 Enter a Policy name or leave default. Make sure Enable Policy is tick marked. Click Finish
 NOTE: If you modify an existing default (unfiltered) policy, the option Assign policy to user and machine objects is not available. Therefore, it is recommended to either modify an existing (not default) policy or create a new policy.
Create a new policy to enable WebSockets policy settings
In Citrix Studio > Policy, under Actions > Policy, Click Create Policy
NOTE: If you modify an existing default (unfiltered) policy, the option Assign policy to user and machine objects is not available. Therefore, it is recommended to either modify an existing (not default) policy or create a new policy.
Create a new policy to enable WebSockets policy settings
In Citrix Studio > Policy, under Actions > Policy, Click Create Policy
 In the search field, type websoc and hit enter. It will filter all the 3 WebSockets related policy settings.
 Click Select for all of the three policy settings.
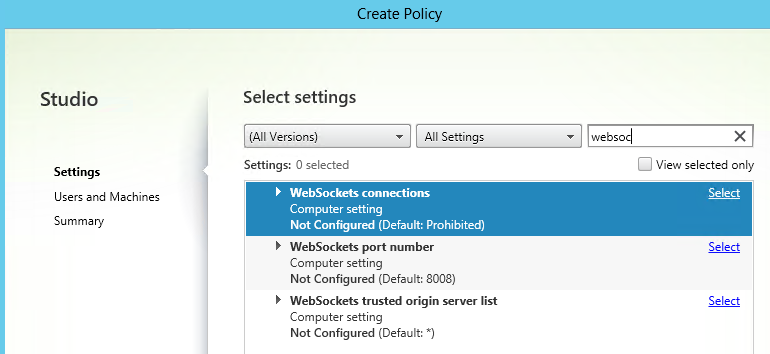 Click Next
 Assign permission based on delivery group, , Tags. Select Delivery group. Click Assign.
 Once you click on Assign, a window – Assign Policy opens. Select the appropriate Delivery Group from the drop-down. Click OK
 If you Select Delivery Group Type, click Assign. You can select from the following delivery group types:
> Private Desktop
> Shared Desktop
> Private Application
> Shared Application
If you Select Delivery Group Type, click Assign. You can select from the following delivery group types:
> Private Desktop
> Shared Desktop
> Private Application
> Shared Application
 If you select Organizational Unit (OU), then you have the option to select specific OU from your AD environment.
 On the Summary window, review your policy settings, click Finish
 Step3: Verify HTML5 by access Desktop and Application(s) using web browser
Login via StoreFront URL http://<XDControllerIPaddressorFQDN>/Citrix/StoreWeb using domain credentials based on permission (users/groups) in delivery group. When you see this page, click on Log On. You get this page when you select Use Receiver for HTML5 if local install fails. That means you have two options:
Step3: Verify HTML5 by access Desktop and Application(s) using web browser
Login via StoreFront URL http://<XDControllerIPaddressorFQDN>/Citrix/StoreWeb using domain credentials based on permission (users/groups) in delivery group. When you see this page, click on Log On. You get this page when you select Use Receiver for HTML5 if local install fails. That means you have two options:1) Citrix Receiver Plugin
2) Receiver for HTML5
 Enter the appropriate Username and Password
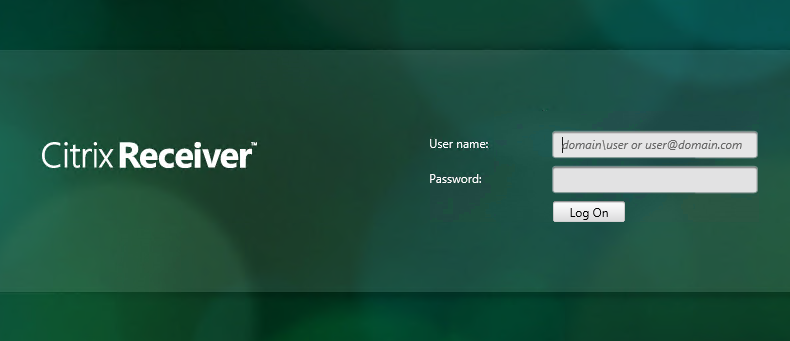 The page will enumerate all the Apps and Desktops you have access to. Please note only desktops can be launched using HTML5 browser. For Applications, you need to use Citrix Receiver plugin.
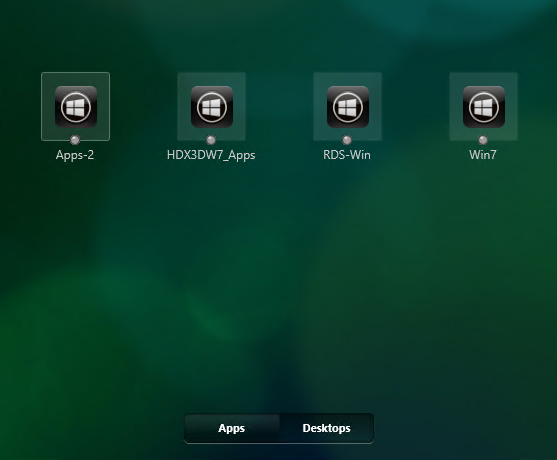 Windows 7 desktop from a HTML5 compatible browser. In this example, Google Chrome.
 References
WebSockets policy settings – edocs (XenDesktop 7)
Configure Receiver for Web sites – edocs (StoreFront)


That is a comprehensive explanation @cloudray, but doesn’t the published application use the HTML 5 receiver too?
Yes, it has changed since the time I posted this blog. Meanwhile, I suggest please refer the most recent edocs as mentioned at the end of this blog for the latest updates for HTML5 features and supportability.
somehow it didnt work for me dude.. i have enabled the policy as you mentioned, searching by websocs. Enabled those 3 values in a new policy, changed the storefront deployment method. Firstly login to storefront took lot of time for me and then it gave msg, there are currently no resources published for you etc..
Please check your delivery group assignment for both the HTML5(websocket) policy as well as on the delivery controller where you have the delivery group (ensure appropriate user/group access is in-place)
Cloudray, This is did not work for me either. I’m able to access the storefront but then I get the error 404- file or directory not found